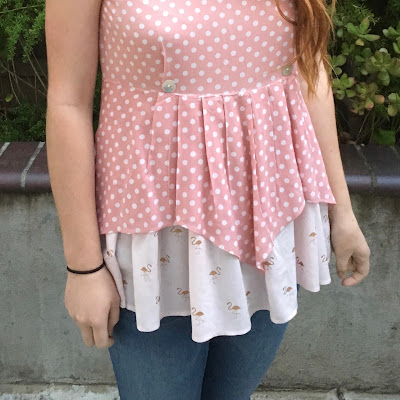
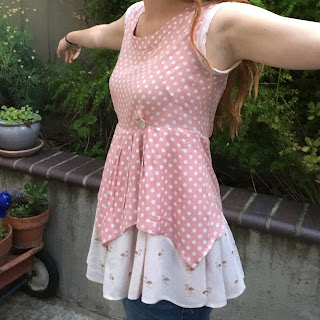
Fun Polka Dot Top with Added Flamingos - Adding the Skirt
I will
show you how I created this fun top which was just a left over from a
dress in which I had used the bottom skirt portion and sleeves for
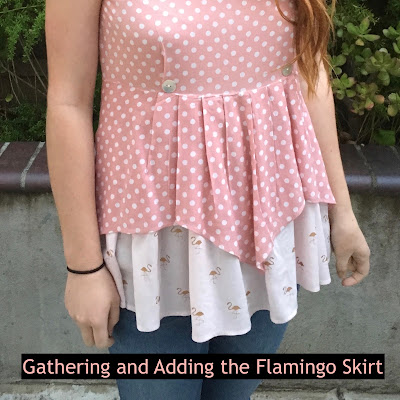
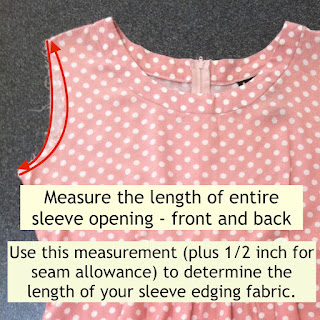
another project. Check out my first post on this polka dot top where I give detailed picture instructions on how I added the flamingo sleeve edging to the armhole of the top. In this post I will show you how I gathered and attached the flamingo fabric skirt to the top. First let's start with finishing the hem line of the polka dot top.
Finishing Hemline
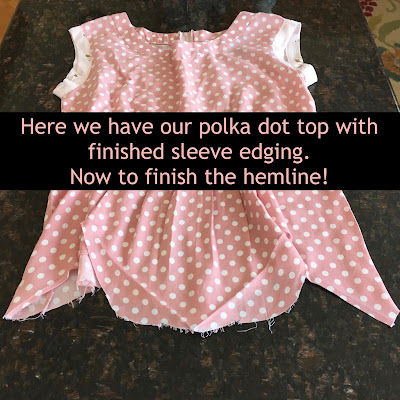
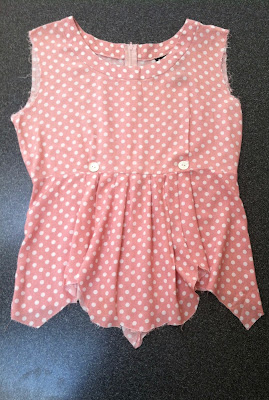
This top is not symmetrical at the hemline so we will need to correct that. You may be able to see where I have already pressed the front side of the material to create a symmetrical point in the front and on the sides of the top. The back hemline is also uneven and asymmetrical. We will even out
the front and back hemlines while making each side symmetrical.
Making the Front of the Top Hemline Symmetrical
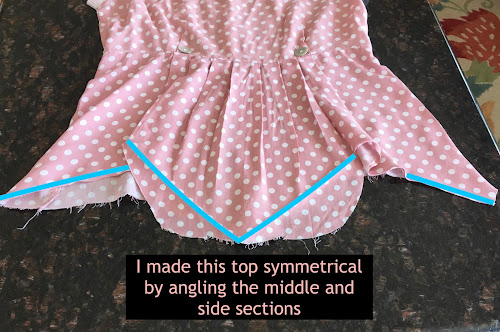
I made this top front symmetrical by angling the middle and side sections. Leave enough room to make a nice hem. Note that the side sections in the above photo are folded over a bit, but the side angles should meet up to the middle angles to form a point.
Making the Back of the top Hemline Symmetrical
This is pretty much the same as with the front hemline, just a slightly different angle. Again, leave enough room to make a nice hem.
Now cut both front and back hem lines to match the symmetrical angles you have drawn on your top. Remember to leave enough room for a nice hem finish (see pic below).
Finishing the Hemline
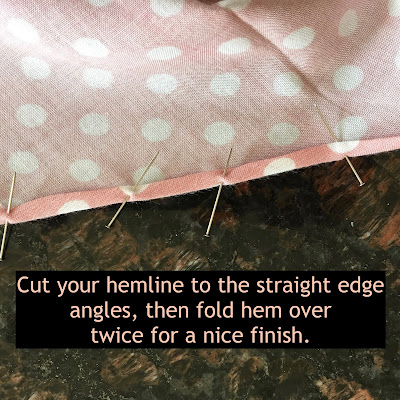
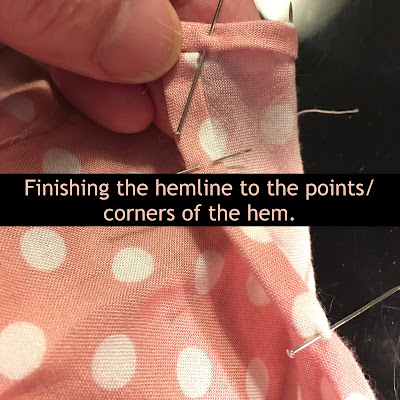
Cut your hemline to the straight edge angles, then fold hem over twice for a nice finish. The hem measurement is 1/2 inch in total with 1/4 inch folded to the inside and again 1/4inch on the outer edge.
Bringing the Hemline Together at the Corners
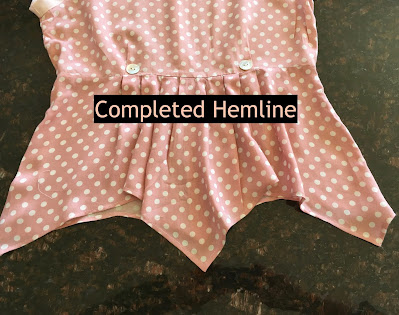
Completed Hemline
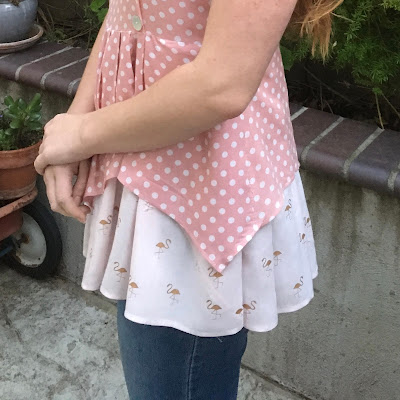
Here is the completed hemline - looks a lot better! Now we are ready to add the gathered flamingo skirt.
The Flamingo Skirt
Getting the Fabric Ready for the Skirt
Here I have the flamingo fabric. You can see in this pic where I cut the bias material for the sleeve edging (in previous post) and then sewed the fabric back together again into one piece. Since we are gathering the material this bias seam will not be obvious when completed. For the length of the skirt it works out that I can just cut my fabric in half and then sew the narrow edges together to give me more gathering for the skirt. By cutting the fabric and sewing together I now how approximately 90 inches of fabric to use for the gathered skirt. Note: depending on the fullness of the look you want you may be able to use less fabric for your particular project.
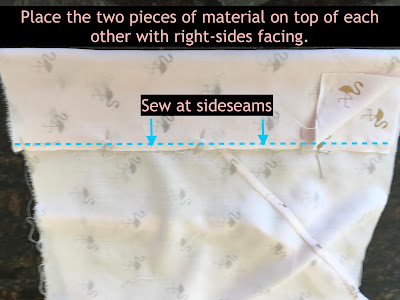
Sewing Sideseams on Skirt
Now take the two pieces you just cut and place them on top of each other with right-sides facing together, pin and then sew with a 3/8 or 5/8 inch seam. Now you have created your skirt ready to be gathered.
Flamingo Material Ready to Be Hemmed and Gathered
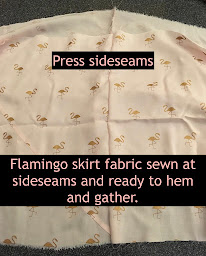
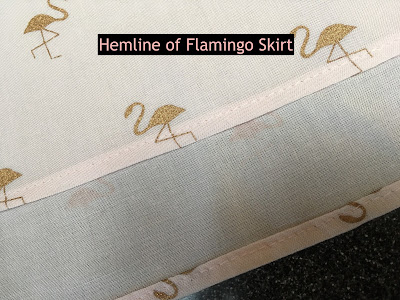
Here are two pictures of the flamingo material sewn together at the sides. Press sideseams and reinforce with a zigzag stitch if necessary. Now we are ready to finish the hem and then gather.
Finishing the Hem on the Skirt
I like to finish the hem before I gather and attach the skirt to the top. This will work since I already have determined the final length of the top. You can finish the hem after you attach the gathered skirt to the top. Either way will work. Here the hem is approximately a total of 5/8 inch with half of that measurement folded over to the inside of the hem.
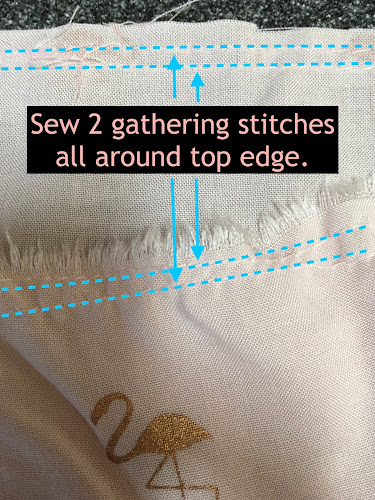
Sew Two Gathering Stitches All Around Top Edge
Now we need to sew two gathering stitches all around the top edge of the flamingo fabric so we can create the gathers. Use a long gathering stitch on your machine to create this. Two stitches help to create a nice gather and helps to provide consistency as oppose to just using one stitch. I also start and stop my two stitches in sections so that I can distribute the gathers evenly throughout the garment. I usually divide the fabric and top into 4 sections: right side front to middle, left side front to middle, right side back to middle, left side back to middle. This way I can match up the front and back middles of the fabric to the front and back middles of the top, and the sides of the fabric to the sides of the top. Each section will have its gathers evenly distributed.
Gather Stitches
Here you can see the gather stitches. I have started and stopped the stitches in the 4 different sections of the sides and front and back middle areas. Now begin to gather those stitches next to your top and meet up the sides and middles of your skirt and top to ease in the gatherings to fit nicely. Begin to pin the gathers to the top.
Evenly Distribute Gathers on Top
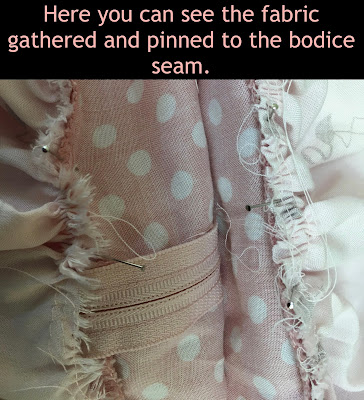
As we gather the fabric we can begin to fit the gathers evenly to the top. Work on one section at a time to pin the gathers consistently to your top. On this top I have a bodice seam that allows me to attach the gathers to the top pinning and then sewing it to the same seam that was used in the original dress.
Gathers Pinned to Bodice and Ready to Sew
After pinning the gathers in place sew along the top's bodice seam to secure. If you have a zipper in the back see pic below.
How to Secure at Zipper
If you have a zipper, cut a straight opening in fabric and turn edges in and sew to zipper by hand.

